| | |||||||||||||||||||||||||
| STEP 18 | Next suspend the white cell pellet in 0.3 ml of water and transfer all of it to a small Eppendorf tube. It is important to transfer all even if some of it is in clumps. | ||||||||||||||||||||||||
| | |||||||||||||||||||||||||
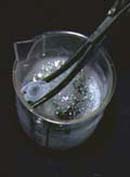
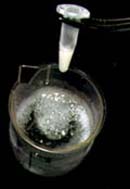
| STEP 19 | We want to break open the cells and the lysosomes where stored cystine is trapped. To do this hold the cell suspension in a mixture of dry ice and alcohol until it is frozen (figure 19a and 19b). If you don't have dry ice and alcohol you could put the tube in a -20 C freezer. If you have a microprobe sonicator you can use that instead of freezing and thawing. |
STEP 20 | Now is the critical time. The frozen cells and lysosomes will break open mixing their contents. Cysteine, glutathione, thiol groups on proteins, and the cystine we want to measure may react with one another. For that reason, the thawing part of the freeze/thaw cycle should be as short as possible in order to keep the suspension cold and limit its reactions. Hold the tube in warm water until just thawed and no longer. Do the freeze/thaw cycle a total of three times (figure 20). | 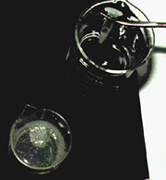 figure 20: Thawing rapidly in warm water (click to enlarge) | STEP 21 |
As soon as possible add the 100 microliters of 12% sulfosalicylic acid (SSA) which is supplied with the kit in a small tube (figure 21). By this acidification, we stop the reactions and precipitate the protein. All that remains to be done is to label and freeze the sample until you are ready to ship it. | 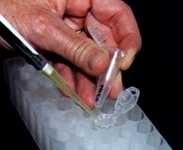 figure 21 (click on image to enlarge) | Follow the shipping instructions on your protocol. Ship no later in the week than Wednesday to the following address: |
University of California, San Diego
| ||||||||||||||||