| | |||||||||||||||||||||||||
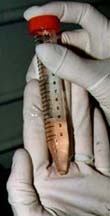
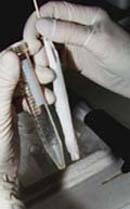
| STEP 12 | Now make the solution hypotonic by adding 2.4ml of distilled water, start a timer, and vortex. Figure 12 | 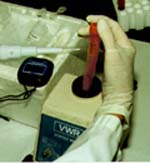 figure 12 (click on image to enlarge) | |||||||||||||||||||||||
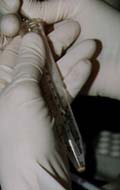
| STEP 13 | When timer reaches about 90 sec ± 5, restore the solution to isotonic conditions by adding 0.8ml of 3.6% sodium chloride and vortex briefly. Figure 13. | 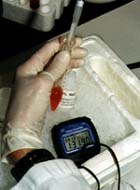 figure 13 (click on image to enlarge) | |||||||||||||||||||||||
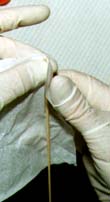
| STEP 14 | Centrifuge at the same time speed as before for three minutes. After the spin you will see the supernatant is tinted red by the released hemoglobin from the lysed red cells. The white cells are at the bottom probably with a ring of still intact red cells on top. Figure 14 | 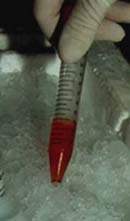 figure 14 (click on image to enlarge) | |||||||||||||||||||||||
| | |||||||||||||||||||||||||
| STEP 15 | Next remove the supernatant and repeat the lysis (illustrations 10a - 13). If there is a pocket of red cells trapped underneath the white cell pellet, DO NOT try to remove them. They will not lyse. After centrifugation the pellet may now look like this. Don't worry about a small ring of red at this point. It should wash away in the next step. Figure 15a. Carefully remove the supernatant. Figure 15b. |
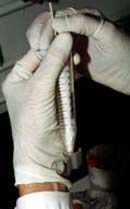
| STEP 16 | Add 3 ml of 0.9% saline and vortex. This just washed the outside of the pellet so it need not be resuspended completely. Then centrifuge this for 3 mintues. Figure 16 | 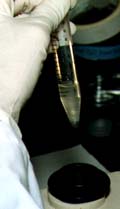 figure 16 (click on image to enlarge) STEP 17 *This step is optional* | After the preparation has been centrifuged and the supernatant discarded, some red cells may still remain in the liquid on top of the pellet. If so, they can be removed by just touching the edge of the liquid with a kimwipe on a stick. If cells are trapped underneath, they cannot be reached. |
|
| |||||||||||||||||